Immich
This guide is in the queue for a video and will be uploaded to the Hake Hardware YouTube channel soon!
Overview
Immich is a self-hosted photo and video backup solution that allows you to store and manage your media files securely. It is designed to be easy to use and provides a web interface for managing your media library. Immich can be installed on Proxmox using Docker, which makes it easy to manage and scale as needed.
Docker is the recommended way to install Immich, as it allows for easy management of dependencies and updates. This guide will walk you through the process of installing Immich on Proxmox using Docker.
I will be using a Datastore on TrueNAS to store the media files, but you can use any storage solution that is compatible with Docker. The process for setting up the Datastore will not be covered in this guide, but we will briefly go over how to assign various storage options to the Immich container.
I will be using Portainer to manage the Docker containers, but you can also use the command line if you prefer. The process is similar, but using Portainer makes it easier to manage multiple containers and view logs.
Portainer Guide - This guide will cover how to set up Portainer on Proxmox using a VM. This is not required, but I find it easier to manage Docker containers using Portainer rather than the command line.
Prerequisites
There are the prerequisites to follow this guide exactly:
- Proxmox VE 8.0 or later
- A VM with Portainer installed
- A Datastore on TrueNAS or other storage solution
Docker VM
Immich requires a VM, I typically use Debian for this. You are welcome to follow my guide here on how to set up a Debian VM on Proxmox: Debian VM Guide.
Make sure your VM meets the Immich Requirements before proceeding.]
Preparing for Immich
There are two locations which need to be prepared for Immich. The first is the location where the media files will be stored. This can be a local disk, a Samba share, or any other storage solution that is compatible with Docker. The second location is the location where the PostgreSQL database will be stored. I highly recommend using a local disk for this, as it will be much faster than using a network share.
In my case, I will be using a Samba share mounted to the VM at /mnt/media/photos. I will be using this location for the library. As for the PostgreSQL location, I will create a postgres folder in the user home directory: /home/<username>/postgres.
This will be reflected in the environmental variables listed below.
Installing Portainer
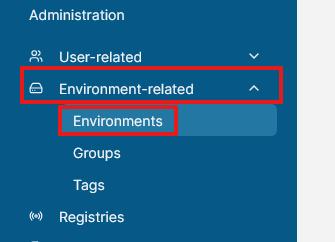
Either SSH into your VM or open the console in Proxmox. Next, open the Portainer web interface in your browser and navigate to Environment-related and then Environments.
Click the Add environment button.

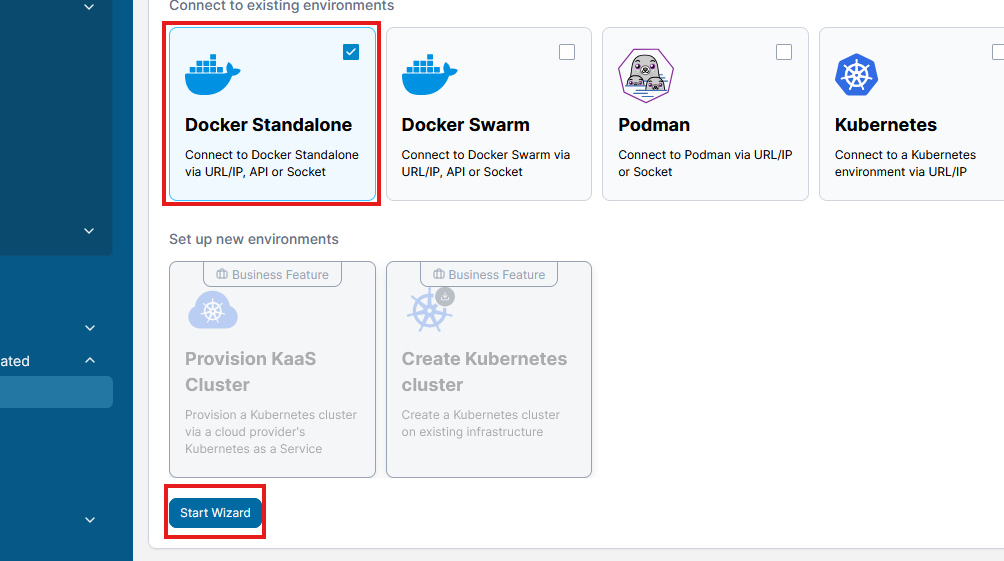
Select Docker Standalone and then click Start Wizard
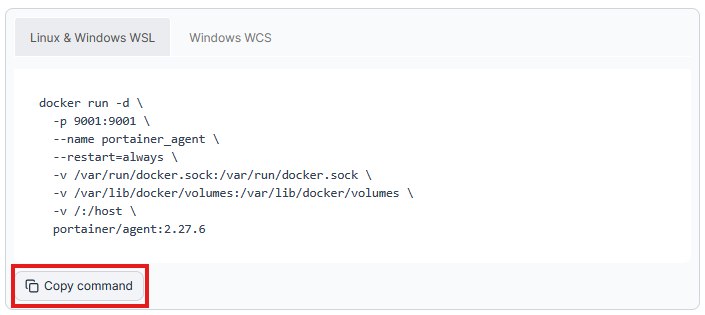
Now copy the command and run it in the terminal of your VM (You may need to use sudo). This will start the Portainer agent on the VM.
Now that the Portainer agent is running, we can add the environment to Portainer. Back in the Portainer web interface where you copied the command, enter a Name and the Environment address for the VM you just created.

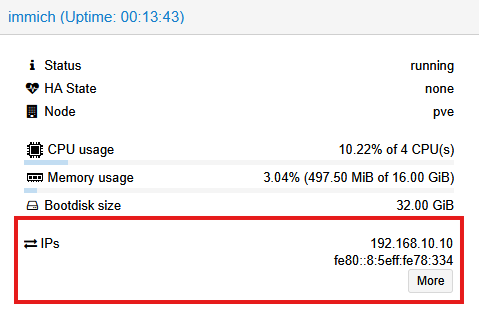
You can find the IP address in the Summary tab of the VM in Proxmox. Personally, I prefer to go into my router and set a static IP address for the VM. Make sure to add the port 9001 as well.
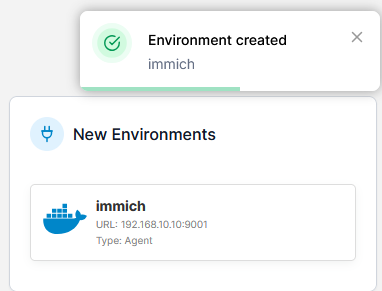
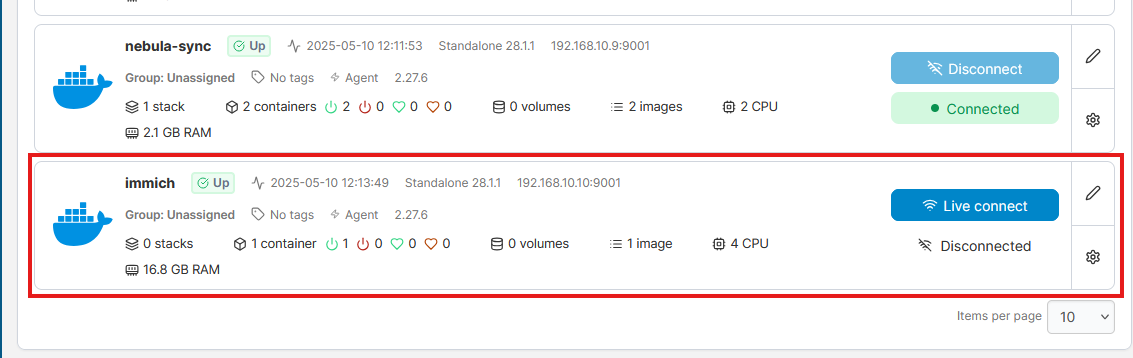
Click Connect in Portainer and you should see the environment added.
Install Immich
Now that Portainer is set up, we can install Immich. Go back to the Home tab in Portainer and select the immich environment.
Create Stack
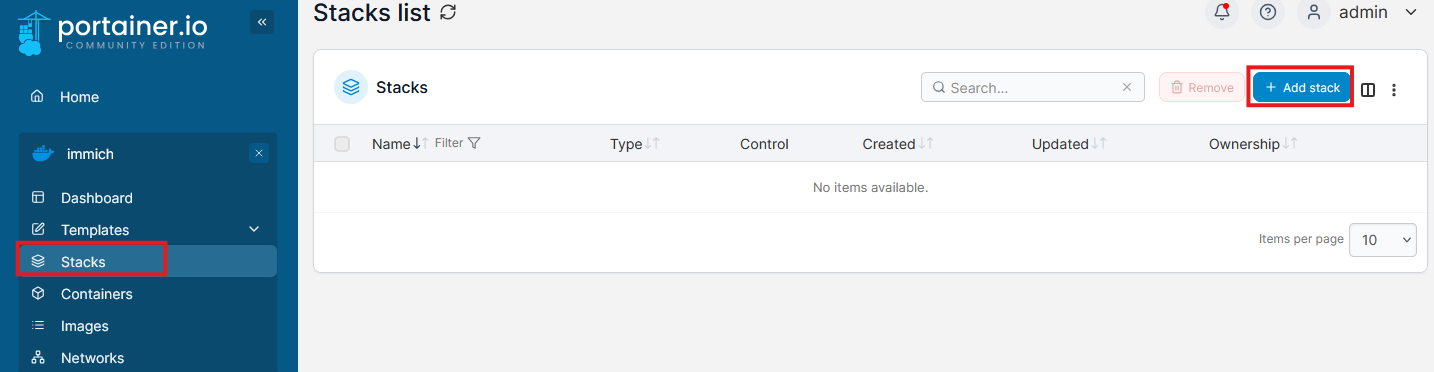
On the left hand side, select Stacks and then click the Add stack button.
I use immich as the name of the stack, but you can use whatever you like. Then copy and paste the following code into the Web editor section. This will create the Immich stack.
services:
  immich-server:
    container_name: immich_server
    image: ghcr.io/immich-app/immich-server:${IMMICH_VERSION:-release}
    volumes:
      - ${UPLOAD_LOCATION}:/usr/src/app/upload
      - /etc/localtime:/etc/localtime:ro
    env_file:
      - stack.env
    ports:
      - '2283:2283'
    depends_on:
      - redis
      - database
    restart: always
    healthcheck:
      disable: false

  immich-machine-learning:
    container_name: immich_machine_learning
    image: ghcr.io/immich-app/immich-machine-learning:${IMMICH_VERSION:-release}
    volumes:
      - model-cache:/cache
    env_file:
      - stack.env
    restart: always
    healthcheck:
      disable: false

  redis:
    container_name: immich_redis
    image: docker.io/valkey/valkey:8-bookworm@sha256:42cba146593a5ea9a622002c1b7cba5da7be248650cbb64ecb9c6c33d29794b1
    healthcheck:
      test: redis-cli ping || exit 1
    restart: always

  database:
    container_name: immich_postgres
    image: docker.io/tensorchord/pgvecto-rs:pg14-v0.2.0@sha256:739cdd626151ff1f796dc95a6591b55a714f341c737e27f045019ceabf8e8c52
    environment:
      POSTGRES_PASSWORD: ${DB_PASSWORD}
      POSTGRES_USER: ${DB_USERNAME}
      POSTGRES_DB: ${DB_DATABASE_NAME}
      POSTGRES_INITDB_ARGS: '--data-checksums'
    volumes:
      - ${DB_DATA_LOCATION}:/var/lib/postgresql/data
    healthcheck:
      test: >-
        pg_isready --dbname="$${POSTGRES_DB}" --username="$${POSTGRES_USER}" || exit 1; Chksum="$$(psql --dbname="$${POSTGRES_DB}" --username="$${POSTGRES_USER}" --tuples-only --no-align --command='SELECT COALESCE(SUM(checksum_failures), 0) FROM pg_stat_database')"; echo "checksum failure count is $$Chksum"; [ "$$Chksum" = '0' ] || exit 1
      interval: 5m
      start_interval: 30s
      start_period: 5m
    command: >-
      postgres -c shared_preload_libraries=vectors.so -c 'search_path="$$user", public, vectors' -c logging_collector=on -c max_wal_size=2GB -c shared_buffers=512MB -c wal_compression=on
    restart: always

volumes:
  model-cache:
If you want to use Hardware Accelleration or advanced features I recommend checking out the Immich documentation for more information. I will not be covering this in this guide as I am using a basic setup.
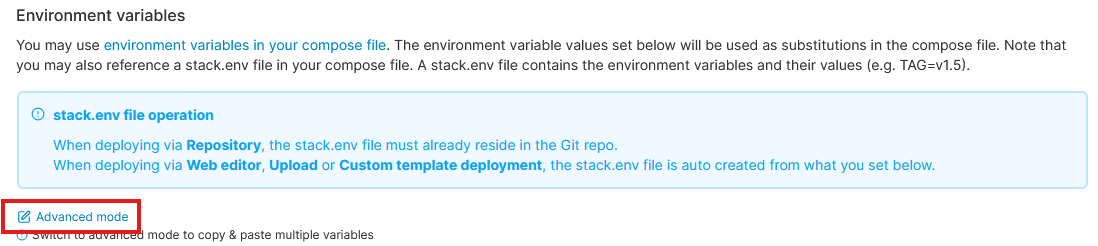
This stack file uses Environmental Variables, so we need to add them to Portainer. Click the Advanced Mode to open up the advanced mode for adding environmental variables.
Then paste in:
UPLOAD_LOCATION=./library
DB_DATA_LOCATION=./postgres
IMMICH_VERSION=release
DB_PASSWORD=postgres
DB_USERNAME=postgres
DB_DATABASE_NAME=immich
Information regarding the environmental variables can be found in the Example ENV Comments. The important ones to consider are the ./library and ./postgres locations. These are the locations where the data will be stored. You can change these to whatever you like, but I recommend using a Datastore or other storage solution that is compatible with Docker for the library, and the local disk for postgres.
In my case, I am using TrueNAS and have a Samba share mounted to the VM at /mnt/media/photos. I will be using this location for the library.
As for the postgres location, I will create a postgres folder in the root directory: /root/postgres.
These settings will be reflected in my environmental variables:
UPLOAD_LOCATION=/mnt/media/photos
DB_DATA_LOCATION=/home/hakehardware/postgres
IMMICH_VERSION=release
DB_PASSWORD=postgres
DB_USERNAME=postgres
DB_DATABASE_NAME=immich
Once everything is set up, click the Deploy the stack button at the bottom of the page.
Accessing Immich
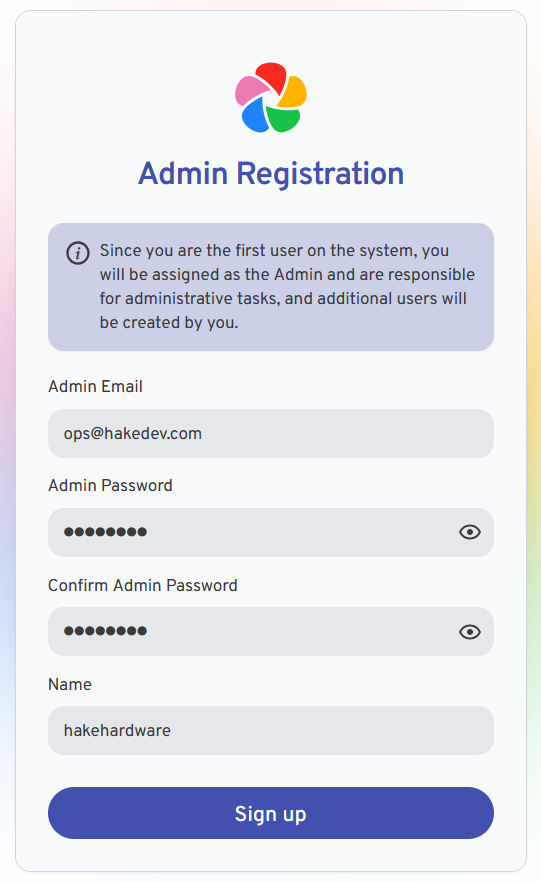
Once the stack is deployed, you can access Immich by going to http://<IP_ADDRESS>:2283 in your web browser. Replace <IP_ADDRESS> with the IP address of your VM. Click the Getting Started button to begin the setup process.

Create an account - the first account will be the admin account. You can create additional accounts later if needed.
Then login to the Immich web interface. There will be some initial setup, but the process is pretty straightforward.
Conclusion
Congratulations! You have successfully installed Immich on Proxmox using Docker. You can now use Immich to manage your media files and take advantage of its features. If you have any questions or run into any issues, feel free to reach out in the Hake Hardware Discord or leave a comment on my YouTube channel. I will be happy to help you out!