Nextcloud - Post Install
Overview
This page provides a comprehensive guide for post-installation steps after setting up Nextcloud on Proxmox. It includes various configurations and optimizations to enhance the performance and security of your Nextcloud instance.
Ensure that you have first installed Nextcloud on Proxmox by following one of the guides below:
User Management and SSH (TurnKey Linux)
Although Nexcloud can be managed via the Console in the Proxmox GUI, it is much easier to SSH into the VM via a non-root user and execute commands.
When TKL first boots up, the appliance services will be showing. Press enter to Quit to log in with the root user.
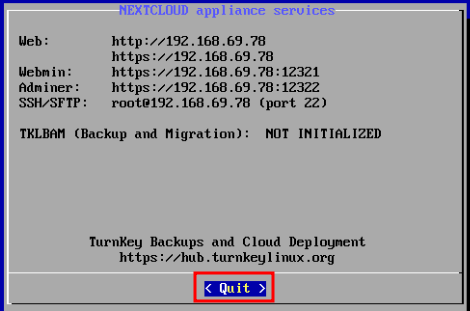
Login with root and the password that was set during installation. Once logged in, install sudo so that the new user that is created can perform admin tasks
apt update && apt install sudo
Next, add the new user, inserting your desired username
adduser --home /var/www <username>
Due to how TKL is set up, there may be some minor permission issues
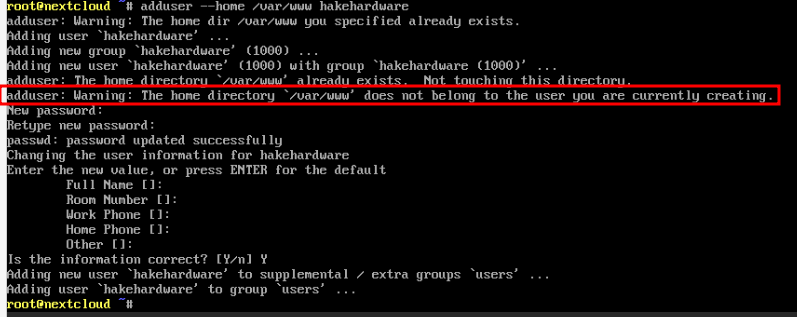
This is partially resolved below, by adding the user to the www-data group, however there may still be some odd behavior. Either way, add the user to the following groups
usermod -aG sudo,www-data <username>
The permission issue can be fixed by setting the ownership to the www-data group and (which the user is now a part of) and user for the /var/www directory.
chown -R www-data:www-data /var/www
Next, the appropriate permissions will be set. Set directories to 775
find /var/www -type d -exec chmod 775 {} \;
Set files to 664
find /var/www -type f -exec chmod 664 {} \;
These commands can be a bit of a bear to type in, however at this point the newly created user can now be logged in to via SSH.
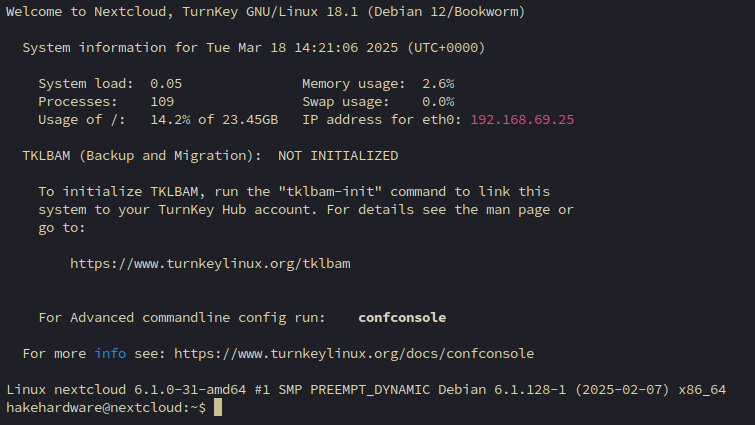
If you are looking for a nice SSH client, check out Termius
Update Nextcloud
Navigate to the Nextcloud web interface via the IP address shown in the console.
There may be a warning about certificates if using HTTPS, just click Advanced and then Accept the Risk and Continue.
To login, use the username admin along with the password that was set during installation.
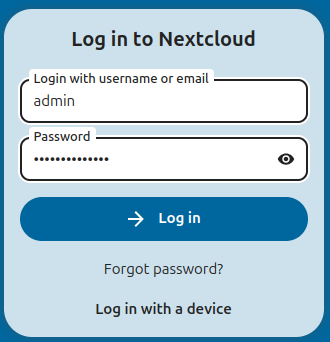
Once logged in, locate the A icon in the top right corner and click it, then select Administrative settings
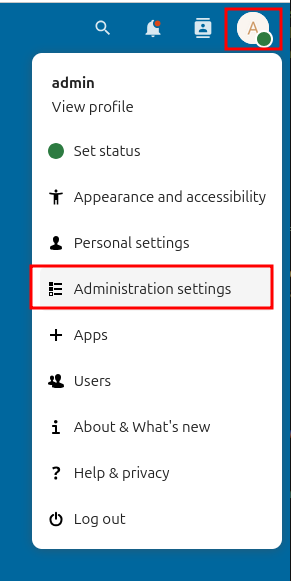
You may notice a few warnings, ignore those for now. Scroll down to the Update section and you will likely see a message like
A new version is available: Nextcloud 29.0.13
Click Open updater to begin the update process. It is typically best to do this before installing any apps or making any customizations. This reduces potential problems with incompatabilities.

When the updater loads, click Start update to begin. The update process will begin, if any step fails there should be an option to retry. Once the update is ready to be applied there will be a prompt

Click it to begin applying the update. A new screen will load, press the Start update button to begin.
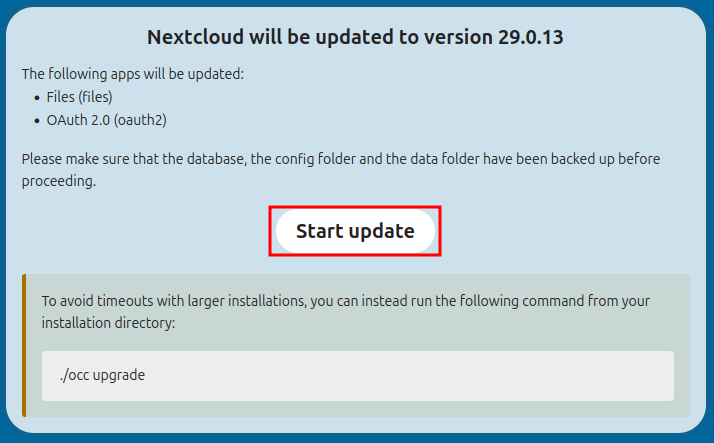
Once the update is finished, there will either be an automatic redirect or a button to press, which will redirect the user back to the main Nextcloud screen. This process will need to be repeated until all the updates are applied. The updater will only update to the next major version (ie. 29>30>31). A reboot between each update is recommended but likely not required.
Some updates are staged, so you may only be able to update to a certain version, then the next day or so another update will be available. This is normal.
Set Maintenance Window
After completing all updates, there may be a warning regarding setting a maintenance window. To resolve this, SSH into Nextcloud and set the maintenance window. In the command below, the maintenance window start time is 3am, update the 3 to whatever time is best for updates to be applied.
sudo turnkey-occ config:system:set maintenance_window_start --type=integer --value=3
Repair Mimetypes
There may be a message regarding repairing mimetypes. To resolve this, SSH into Nextcloud and run the following command
sudo turnkey-occ maintenance:repair --include-expensive
Adding Missing Indicies
There may be a message regarding missing indicies. To resolve this, SSH into Nextcloud and run the following command
sudo turnkey-occ db:add-missing-indices
Set Default Phone Region
There may be a message regarding missing a defaulk phone region. To remove this nag, update the config to have a default phone region.
sudo nano /var/www/nextcloud/config/config.php
Then add
'default_phone_region' => 'US',
CRON Not running
You may notice a warning that CRON is has not run, something like
Last job execution ran 13 minutes ago. Something seems wrong
Open up cron (you may be prompted to choose a text editor, I recommend Nano)
sudo crontab -u www-data -e
Then add this line to the bottom:
*/5 * * * * php -f /var/www/nextcloud/cron.php
Press CTRL+X then y to save and exit.
This should run the cron.php file every 5 minutes and prevent the warning from showing. It may take 5 minutes for the warning to go away.
OPCache Interned Strings Buffer
If you see a warning about the OPCache interned strings buffer, you can resolve this by editing the php.ini file.
Change the version below to match the version of PHP you are using. For example, if you are using PHP 8.2, the path would be /etc/php/8.2/fpm/php.ini.
sudo nano /etc/php/8.2/fpm/php.ini
Then press CTRL+W and search for interned_strings_buffer and set it to 8. If it is commented out, uncomment it.
Then press CTRL+X then y to save and exit. Restart apache2 or reboot for the changes to take effect
sudo systemctl restart apache2
or
sudo reboot
The issue should now be resolved.