Proxmox Install
Overview
This guide will walk you through the installation process of Proxmox 8.4.1 on a physical server. It will not cover things such as minimum requirements, hardware compatibility, or other prerequisites. Please make sure to check the official Proxmox documentation for these details.
A VM in Proxmox is used to install Proxmox in this guide as it makes it easier to get photos and walk throught he steps. However, the steps are no different for the installation on a physical server.
Installation Media
Download Proxmox
Download the Proxmox VE 8.4 ISO Installer from the Proxmox website.
Create Installation Media
My recommendation is to use a multi-OS boot drive such as Ventoy. I have a full guide on how to create a multi-os boot drive. This allows you to boot multiple operating systems from a single USB drive. You can also use a single USB drive with the Proxmox ISO image burned to it.
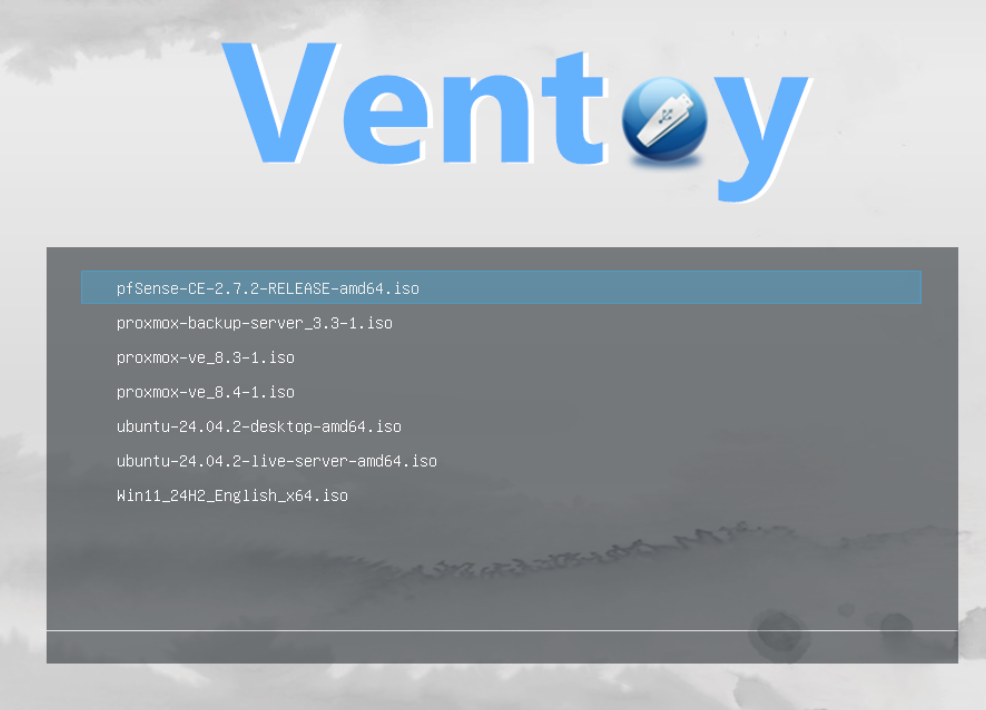
Then select Boot in normal mode.
Installation Steps
When the splah screen appears, select Install Proxmox VE (Graphical) and press Enter.

Once selected, the Proxmox installer will load after some time.
If you get stuck at a screen which says /dev/mapper it is likely that you need to include nomodeset in the kernel parameters by pressing e, full instructions are here in the GRUB nomodeset guide.
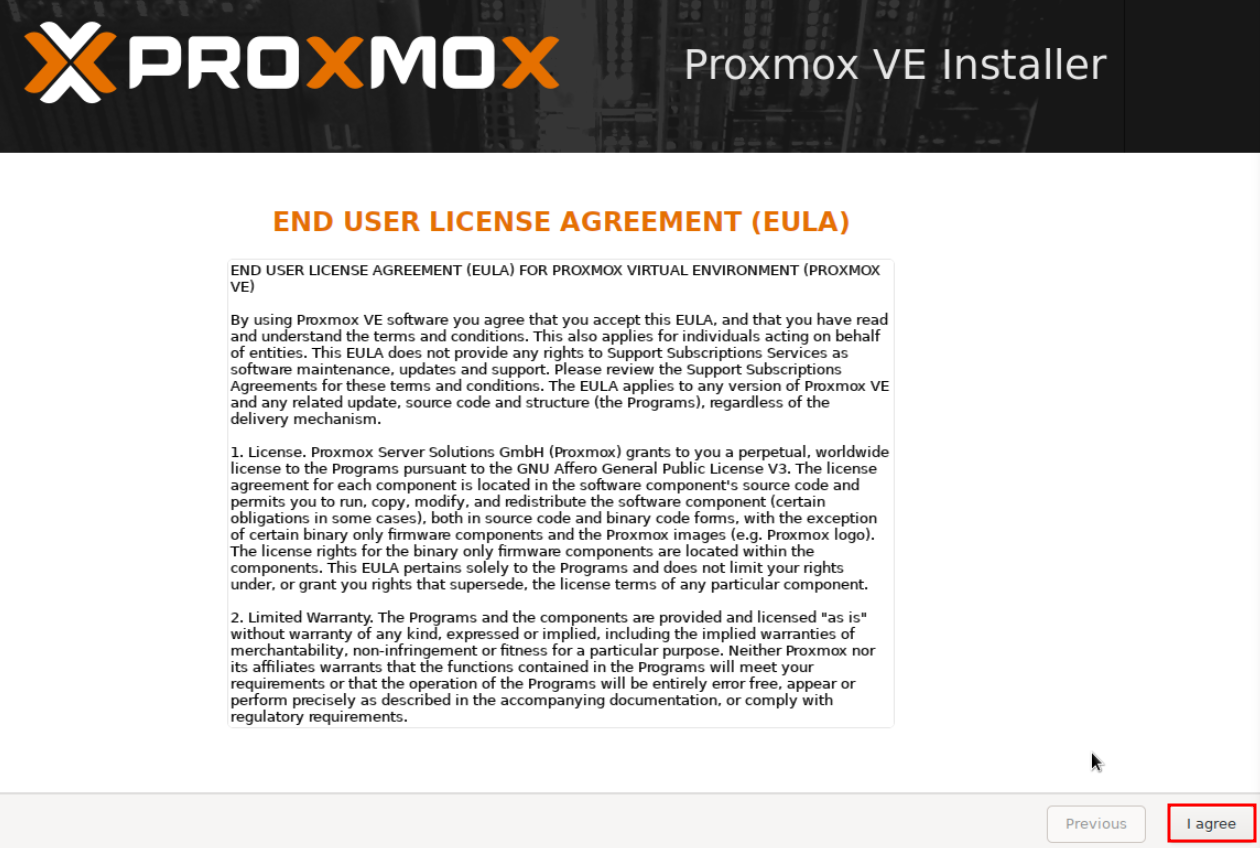
EULA
Accept the EULA by clicking I agree.
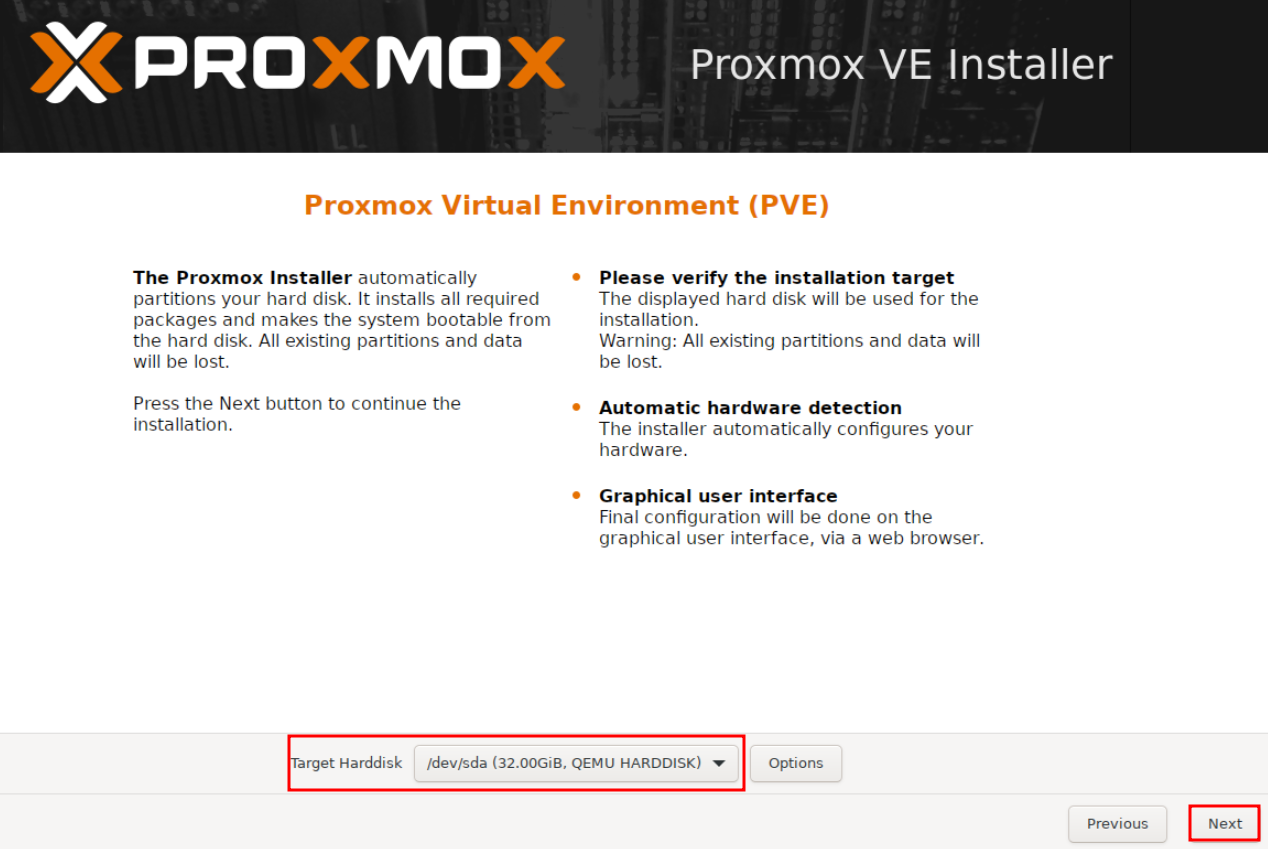
Target Disk
Select the target hard drive for the installation. This will erase all data on the selected drive, so make sure to back up any important data before proceeding.
Timezone
Select the location and timezone.

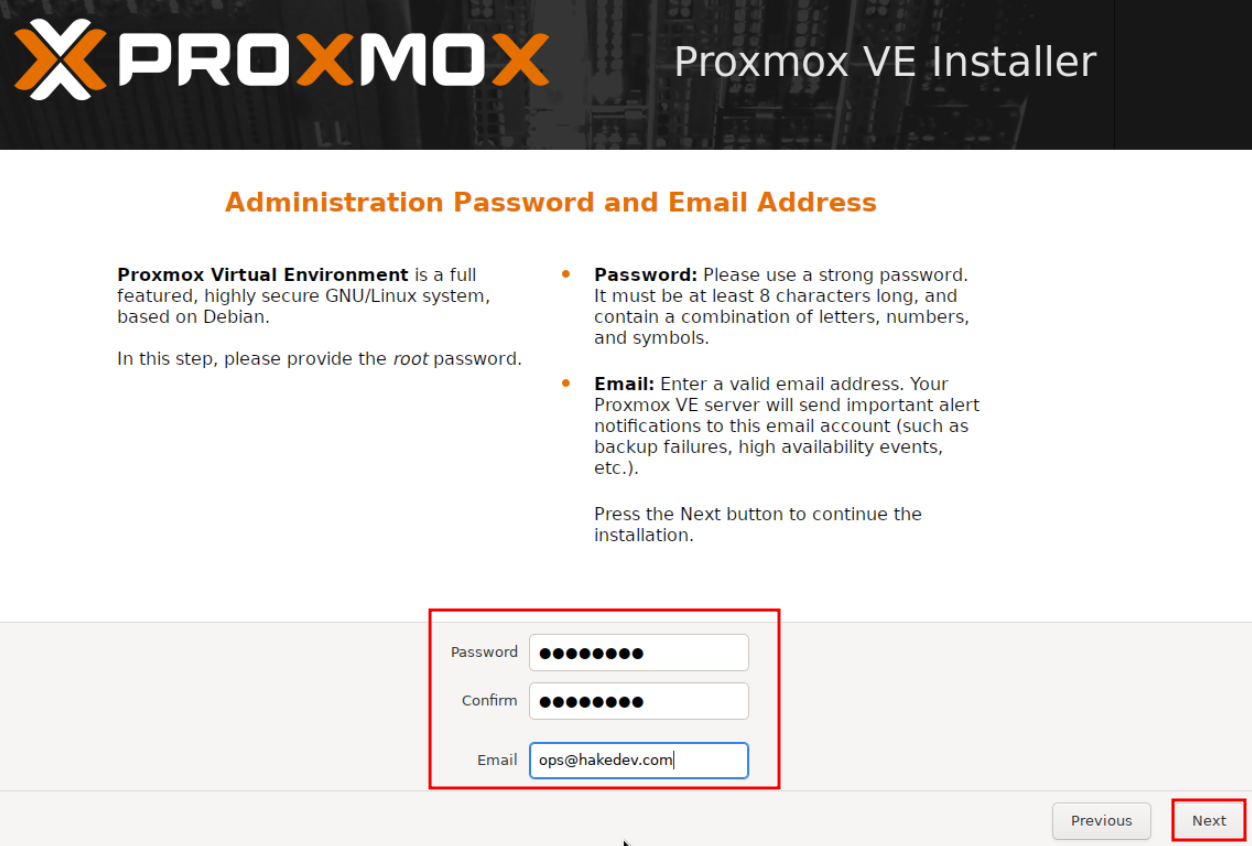
Administration Password
Set the administration password.
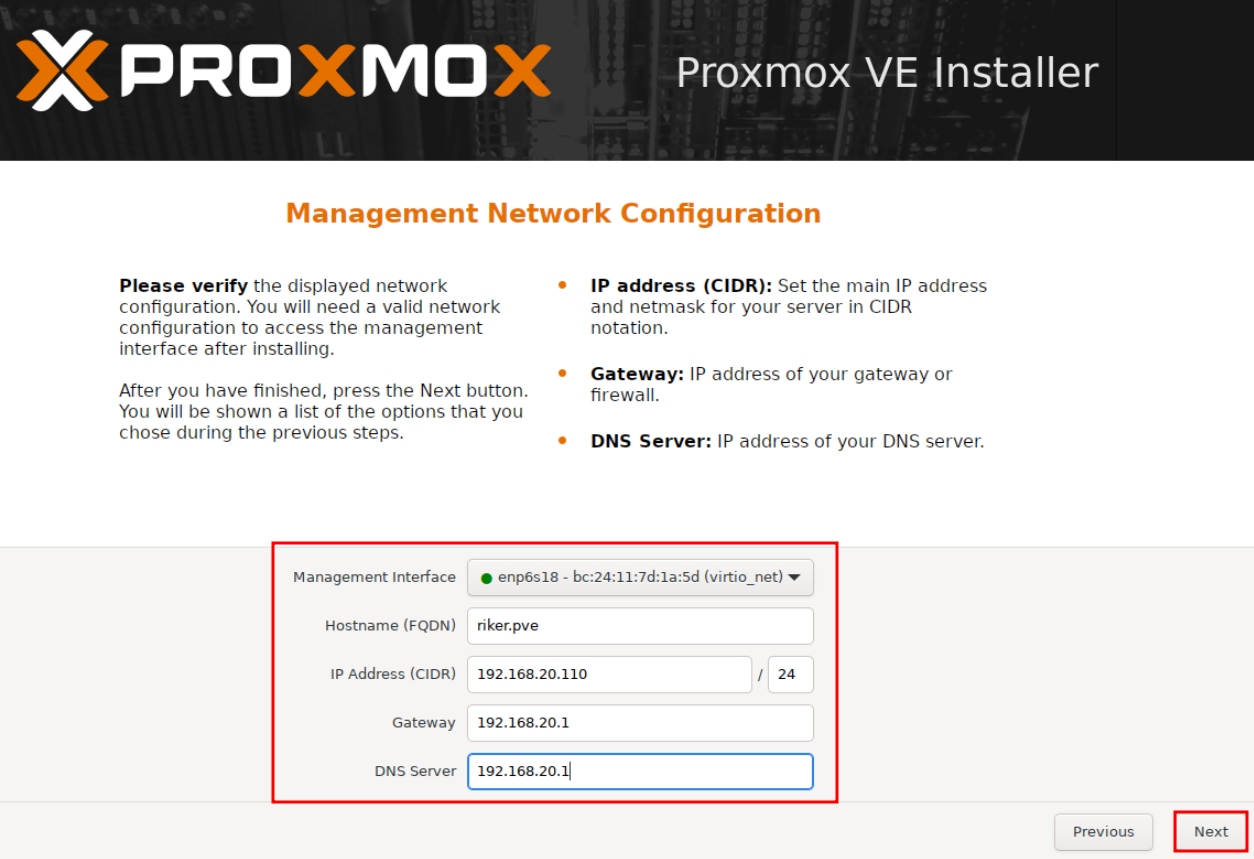
Network Configuration
Management Interface: This is your network card. Likely the correct one will already be selected if you have a network cable attached. If you have multiple network ports that are connected, you will need to be sure to correct the appropriate one.
Hostname (FQDN): This is the name of your server. It can be anything you want, but it is recommended to use a descriptive name that reflects the purpose of the server. I have not found that this matters much other than it will be reflected as the server name in the UI. Later, a reverse proxy can be used to give your server a domain name.
IP Address (CIDR): This is the IP address of your server on the local network. It should be a static IP address that is not already in use by another device on the network. Check your router settings to find the IP range available and confirm there are no conflicts with another device.
Gateway: This can also be found in your router, and is typically something like 192.168.0.1 or 192.168.1.1.
DNS Server: In most cases, simply reuse the gateway IP address. This will allow the server to resolve domain names to IP addresses.
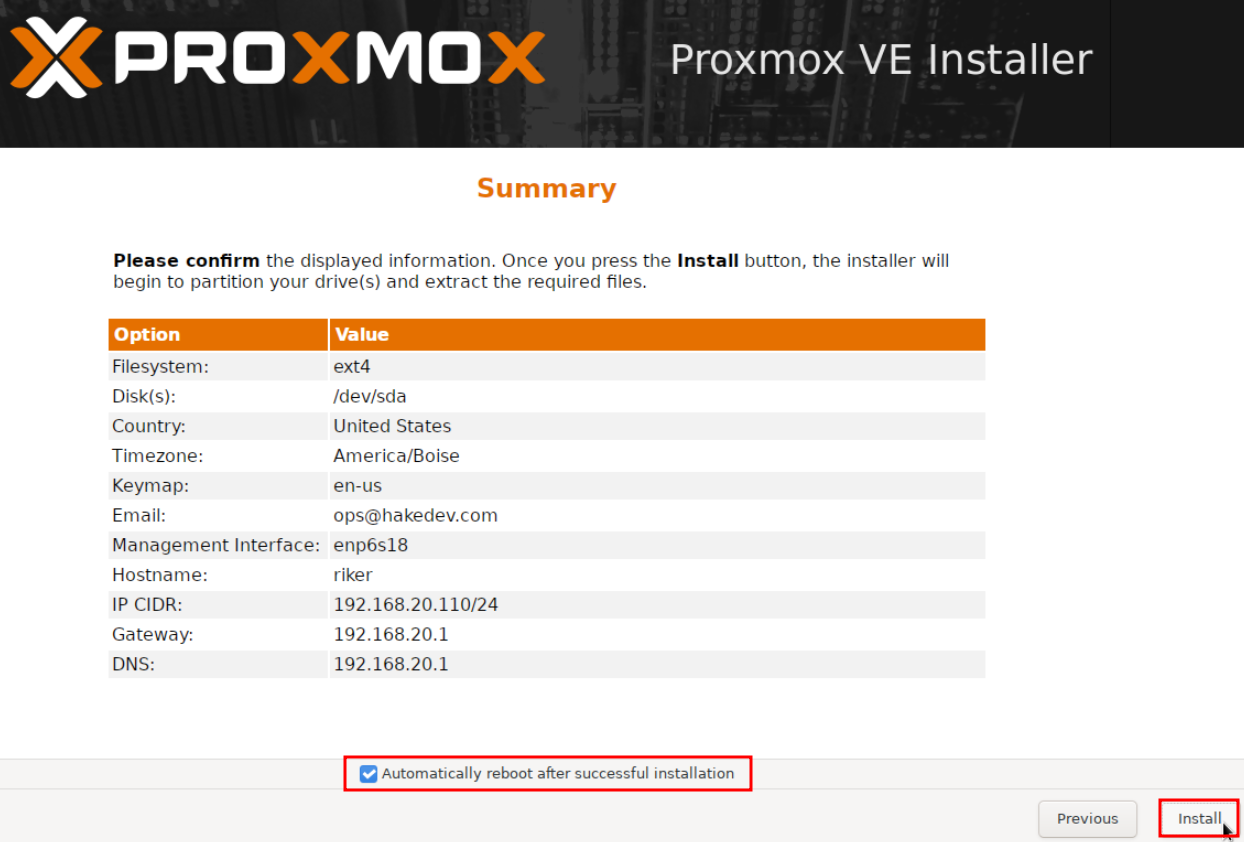
Summary
Finally, confirm all the settings in the summary and then click Install.
Installation
A progress bar will appear and the installation will begin. This may take a few minutes to complete.
Once the installation is complete, you will see a screen with the option to remove the installation media and reboot the server. Click Remove and then Reboot.
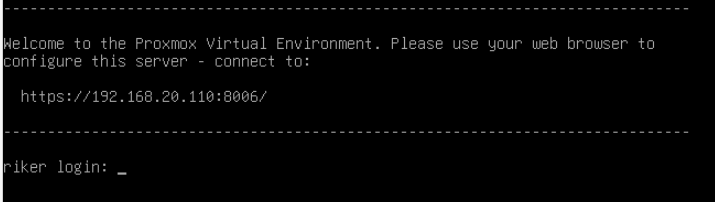
Once the server has finished rebooting, the welcome prompt will display the IP address of the Proxmox web interface.
Accessing the Web Interface
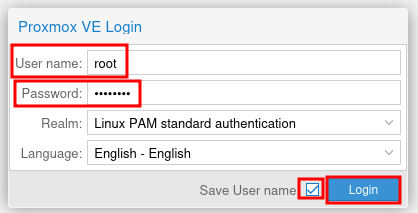
Open a web browser and navigate to https://<your-server-ip>:8006. You will be prompted to log in with the username root and the password you set during installation. You may need to accept a security warning in your browser, as the Proxmox web interface uses a self-signed SSL certificate by default.
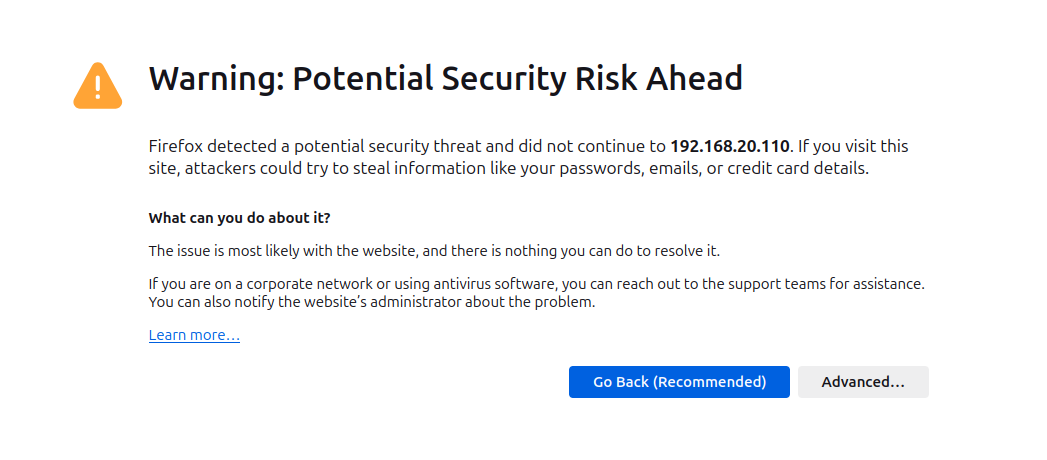
This can be fixed later with a reverse proxy and SSL certificate with Let's Encrypt. Once the page loads, login with the username root and the password you set during installation.
You may receive a notice that there is "No valid subscription". This is normal and can be ignored. Proxmox is open source and free to use, but they do offer a paid subscription for support and updates. Simply click Ok to dismiss the message.
Conclusion
Congratulations! You have successfully installed Proxmox VE on your server. You can now start creating and managing virtual machines and containers. I recommend following the guide on Proxmox Post-Install Configuration to update the sources list and turn off the subscription nag.
Feel free to check out other Proxmox guides in the Proxmox section of the wiki.