Portainer (Docker)
This guide is in the queue for a video and will be uploaded to the Hake Hardware YouTube channel soon!
Overview
This guide will walk you through the process of setting up a dedicated LXC for Portainer to help with managing your Docker containers. There are a lot of ways to do this, but I prefer to have a dedicated VM or LXC for every docker application I run. This allows for easy management of resources and backups, as well as providing a clean separation of applications. Some may prefer to run all their Docker containers on one VM, but I find that this can lead to a lot of clutter and makes it harder to manage resources. This guide will be using Proxmox VE 8.0 or later, but the process should be similar for earlier versions.
Prerequisites
- Proxmox VE 8.0 or later
Installation
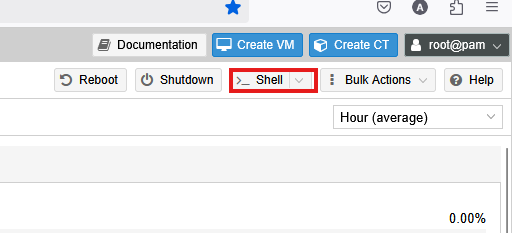
I will be using the Proxmox Helper Script to install Docker, this script also includes an option to install Portainer. To begin the installation, open up Proxmox and select your Proxmox server. Then click the Shell button at the top right of the Proxmox web interface.
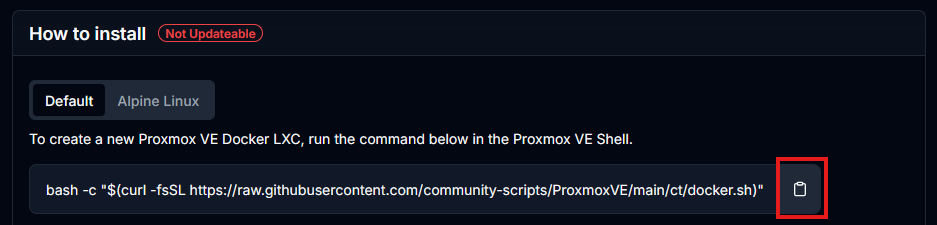
Now navigate to the Docker Helper Script and copy the command to create a new Proxmox VE Docker LXC.
Paste the command into the Proxmox shell and hit enter. This will create a new LXC container with Docker installed. You will be prompted to enter a name for the container, as well as the password for the root user. You can also choose to install Portainer at this time by selecting yes when prompted.

Configure LXC
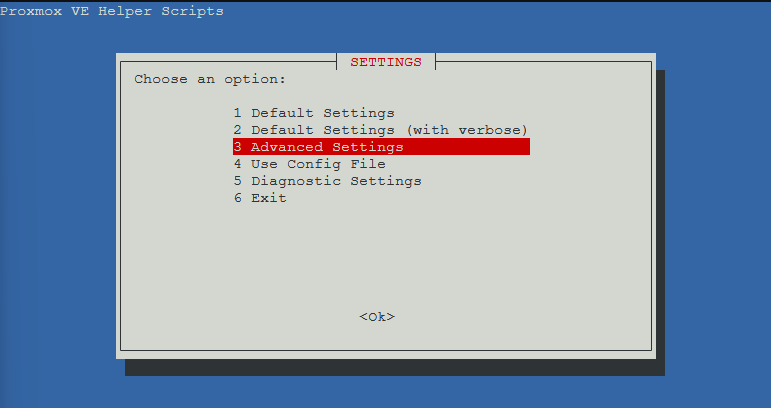
I always use the advanced settings when using a Helper Script as I typically like to customize the IP address and variouis other settings. Most of the time the defaults are fine, but I like to have a little more control over the installation process.
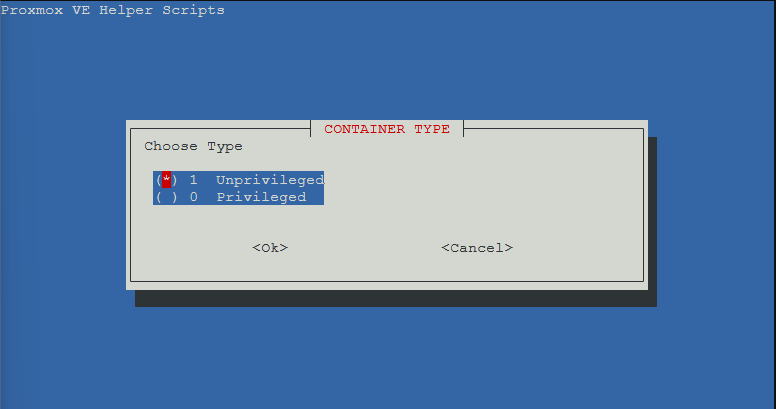
I recommend leaving the LXC as Unprivileged unless you have a specific reason to use a Privileged container. Unprivileged containers are more secure and are the recommended way to run Docker on Proxmox.
Set and verify the root password for the container.

You will then be prompted to set the container ID. Some have specific conventions for this but I typically just use the next available ID.

I usually set the hostname to whatever the application is that I am installing. In this case, I will be using portainer. You can set this to whatever you like, but I recommend using something that is easy to remember.

For the resources, I typically leave the defaults which are: Disk Size: 4GB CPU Cores: 2 RAM: 2048MiB
This should be sufficient but you can always increase these later if you find that you need more resources. For the network bridge, the default (vmbr0) should be fine. If you are using a different bridge, you can select that here.

For the IP address, it is important to use a static IP address. The IP will be needed to install the Portainer client on future VMs and LXCs that will connect to your main Portainer instance. I run all my homelab stuff on a specific subnet so I typically set the IP address to something like 192.168.10.X, but you should use whatever subnet you are using.

The gateway should be set to the IP address of your router. If you are using a different subnet, make sure to change the gateway accordingly.

I leave APT-Cacher IP blank as I do not use this feature. If you are using APT-Cacher, you can set this here. I prefer to disable IPv6 as I do not use it. If you are using IPv6, you can leave this enabled.

- I leave MTU Size blank as I do not use this feature. If you are using a specific MTU size, you can set this here.
- I also leave DNS Search Domain blank as I do not use this feature. If you are using a specific DNS search domain, you can set this here.
- For DNS Server IP, I leave it blank as I want to use the HOST. If you want to use a specific DNS server, you can set this here.
- I leave MAC Address blank as I do not use this feature. If you are using a specific MAC address, you can set this here.
- I do not set a VLAN tag as I do not use this feature. If you are using a specific VLAN tag, you can set this here.
- For Advanced Tags I leave the defaults. If you are using a specific tag, you can set this here.
Leave Root SSH Access as No unless you have a specific reason to enable this.

Leave Verbose Mode as No unless you have a specific reason to enable this. This will give you more information about the installation process, but it is not necessary.

Finally, select yes to install Docker.

The installation process will begin, monitor the progress in the terminal. There will be a prompt to install Portainer, make sure to type y and press enter to install Portainer.

Once the installation is complete, you can close the terminal.

Accessing Portainer
To access Portainer, open up a web browser and navigate to the IP address of your LXC container, using port 9443. You should see the Portainer login screen. Be sure to use https:// in front of the IP address.
For me this would be:
https://192.168.10.8:9443/
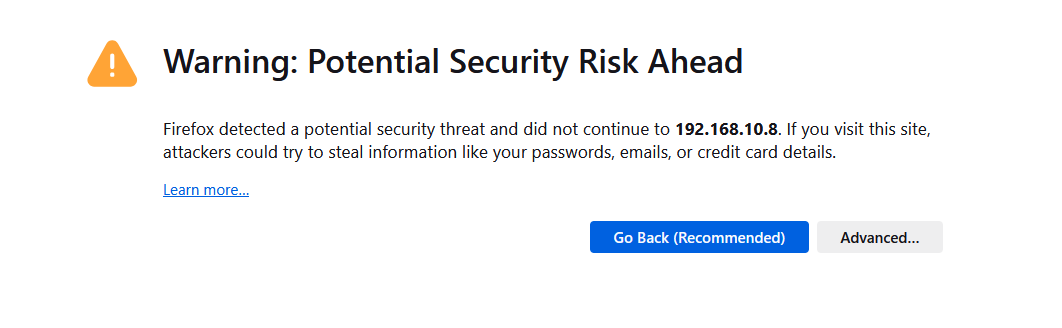
You will likely get a warning about the certificate being invalid. This is because the certificate is self-signed. You can ignore this warning and proceed to the Portainer login screen.
Depending on how long you wait before navigating to the Portainer web interface, you may see a message that the instance timed out and needs to be restarted. Simply restart portainer with the following command:
docker restart portainer

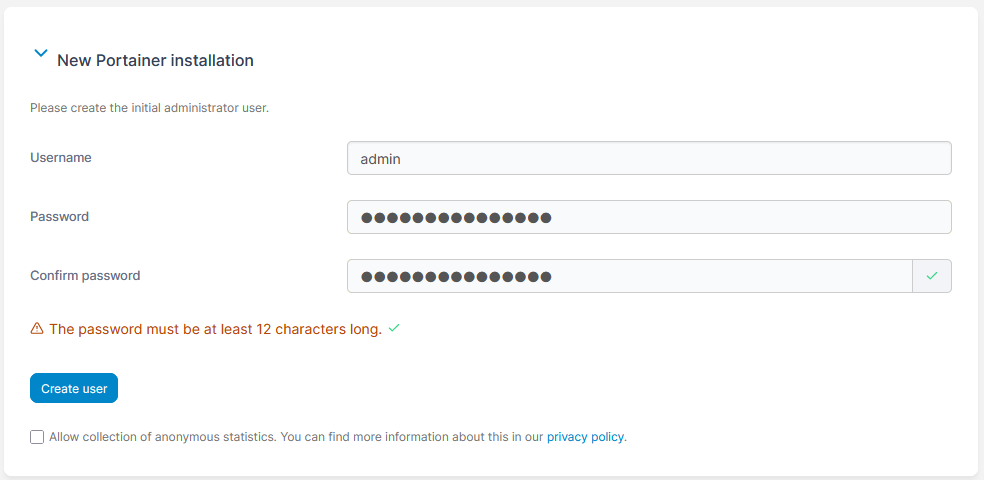
You should now see the Portainer login screen. I leave the Username as admin and set the password to whatever I want. This will be the password you use to log in to Portainer.
Conclusion
Docker and Portainer are now installed and running. As mentioned before, there are a lot of ways to manage Docker containers, but I prefer to have a dedicated LXC or VM for each application. This might be an anti-pattern, but I like the separation of applications and the ability to finely tune the resources for each application.